
WordPress Posts

Here, you learn how to add, edit, and delete posts.
Add Posts
Why Add Posts in WordPress?
Adding posts to your Wordpress site helps keep your content fresh, improves SEO, and engages your audience.
By categorizing and tagging your posts, you also make your content

easier for readers to navigate and for search engines to index, ultimately driving more traffic to your site.
Step-by-Step Adding a Post in WordPress

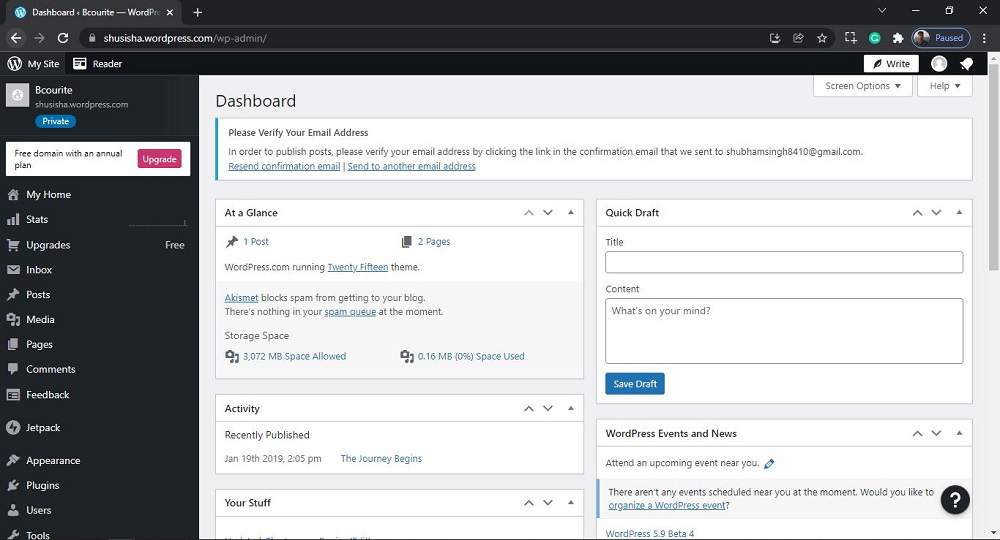
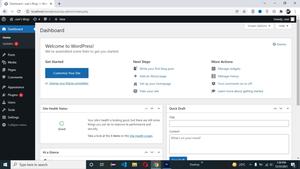
After successful login, your WordPress dashboard looks similar to this.

Step 2: Navigate to Add a New Post
To add a new blog post:
- In the Wordpress Dashboard, go to Posts on the left-hand menu.
- Click Add New.

Step 3: Write Your Post
Now, you’ll see the post editor where you can start writing your content:
- Title: Enter your post title in the top field.
- Content: Write your post in the content area. You can format text, add headings, and insert media such as images and videos using the block editor.

Step 4: Format and Organize Your Post
Before publishing, make sure to format and organize your post:
- Categories and Tags: On the right side of the editor, you’ll see options to add categories and tags. These help organize your posts and make them easier for readers to find.
- Categories: Group your posts into broader topics.
- Tags: Add more specific keywords related to your post content.
Step 5: Save, Preview, or Publish Your Post
After writing your post, you have several options:
- Save Draft: If you’re not ready to publish, click Save Draft. This will save your progress without making the post visible to the public.
- Preview: To see how your post will look on your website, click Preview. This allows you to check the formatting, images, and overall appearance before going live.
- Publish: When your post is ready, click Publish. This makes your post live on your website, visible to your audience.

Step-by-Step Editing Posts in WordPress
Follow the given steps to edit posts in WordPress quickly -
Step 1: Log into Your WordPress Dashboard
Go to the WordPress login panel and enter the username and password to log into WordPress. to access the login page, add /wp-login.php at the end of your website URL and then press enter.

After login, you’ll see a similar dashboard like this

Step 2: Navigate to the Posts Section
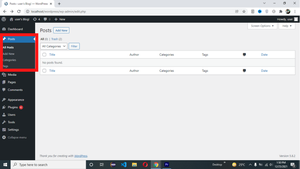
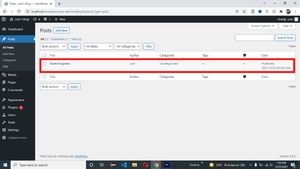
Once you're logged in, locate the "Posts" section in the left-hand menu. Click on "All Posts" to view a list of all the posts on your website.
useoko
Step 3: Select the Post You Want to Edit
Browse through the list of posts or use the search bar to find the specific post you want to edit. Click on the post title or the "Edit" link that appears when you hover over the title.

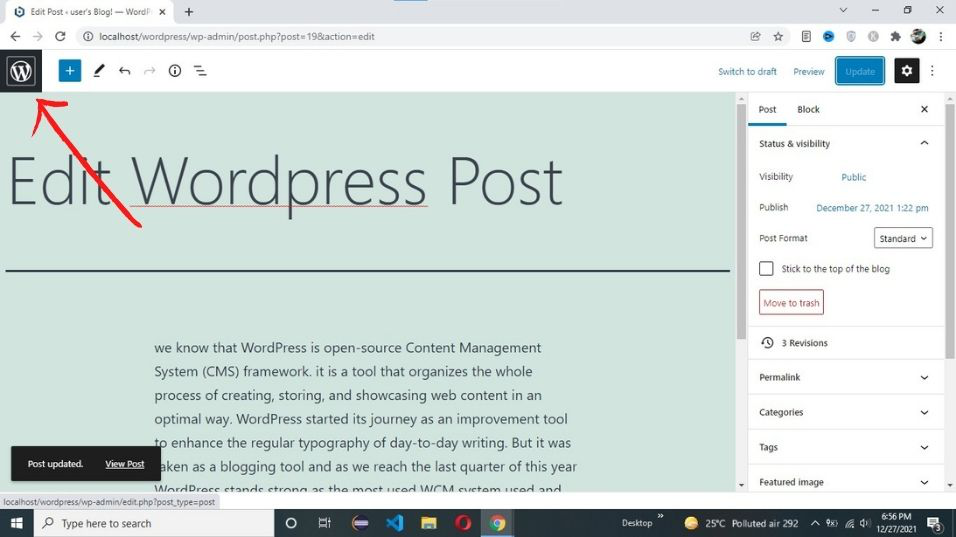
Step 4: Update Your Post
Once you're satisfied with your edits, click the "Update" button to save your changes. Your updated post will now be live on your website.
After edit and publish your post, you need to click on the WordPress icon to go back to the WordPress dashboard.
Now in the post section, you can see our post is successfully edited.
Delete Posts
How to Delete a Single Post in WordPress
The basic tasks of handling WordPress content are adding/editing/deleting posts.
Step-by-Step Delete Posts in WordPress
Step 1: Log In to Your WordPress Dashboard:
Access the WordPress login panel by adding /wp-login.php to your website's URL. Enter your username and password to sign in to the WordPress Dashboard.
After login into WordPress, you will be able to see a dashboard like this:
Step 2: Go to Posts
From the dashboard, click on "Posts" in the left-hand menu. This will display a list of all your posts.

After clicking on All Posts, you will see a similar Post like this:
Step 3: Go to Trash
Click on the "more horiz" button for the selected post you want to delete then click on Trash to delete the Posts.

After clicking on Trash, pages will get deleted. you’ll see a Post trashed message. Both published and Trashed tabs will be updated :

Step-by-Step Preview Posts in WordPress
Step 1: Go to the WordPress login page and enter the username and password to log in to the WordPress Dashboard.
Once you successfully login into your WordPress, your screen looks like this.

Step 2: Now click on the Post -> Add New.

Step 3 Write a post and then click on Preview and now select the device in which you want to see your preview.
Publish Posts
Step-by-Step Publishing a Post on WordPress
Step 1: Log into Your WordPress Dashboard
Go to the WordPress login page and enter the username and password to log in to the WordPress Dashboard.

After successfully login into your WordPress, your screen looks like this.
Step 2: Navigate to the Posts Section
Now you need to click on the Post tab -> Add New.
Step 3: Add a Title and Content
- Title: Enter a compelling and descriptive title for your post in the title field. Your title is crucial for SEO, so include relevant keywords.
- Content: In the main content area, write your post. WordPress uses a block editor, allowing you to add different types of content blocks such as paragraphs, images, headings, lists, and more.

Step 4: Publish Your Post
Once you are satisfied with your post, it's time to publish:
- Click the Publish button in the top right corner.
- Confirm the publication by clicking Publish again in the confirmation pop-up.
- After publishing your wordpress post you need to click on the Wordpress icon to go back to the Wordpress dashboard.
Now you can see your published post in wordpress Post tab.
EmoticonEmoticon
Note: Only a member of this blog may post a comment.